A realistic timeline from first contact to the day your system starts producing electricity
The Install Itself Is Fast — Everything Else Takes Longer
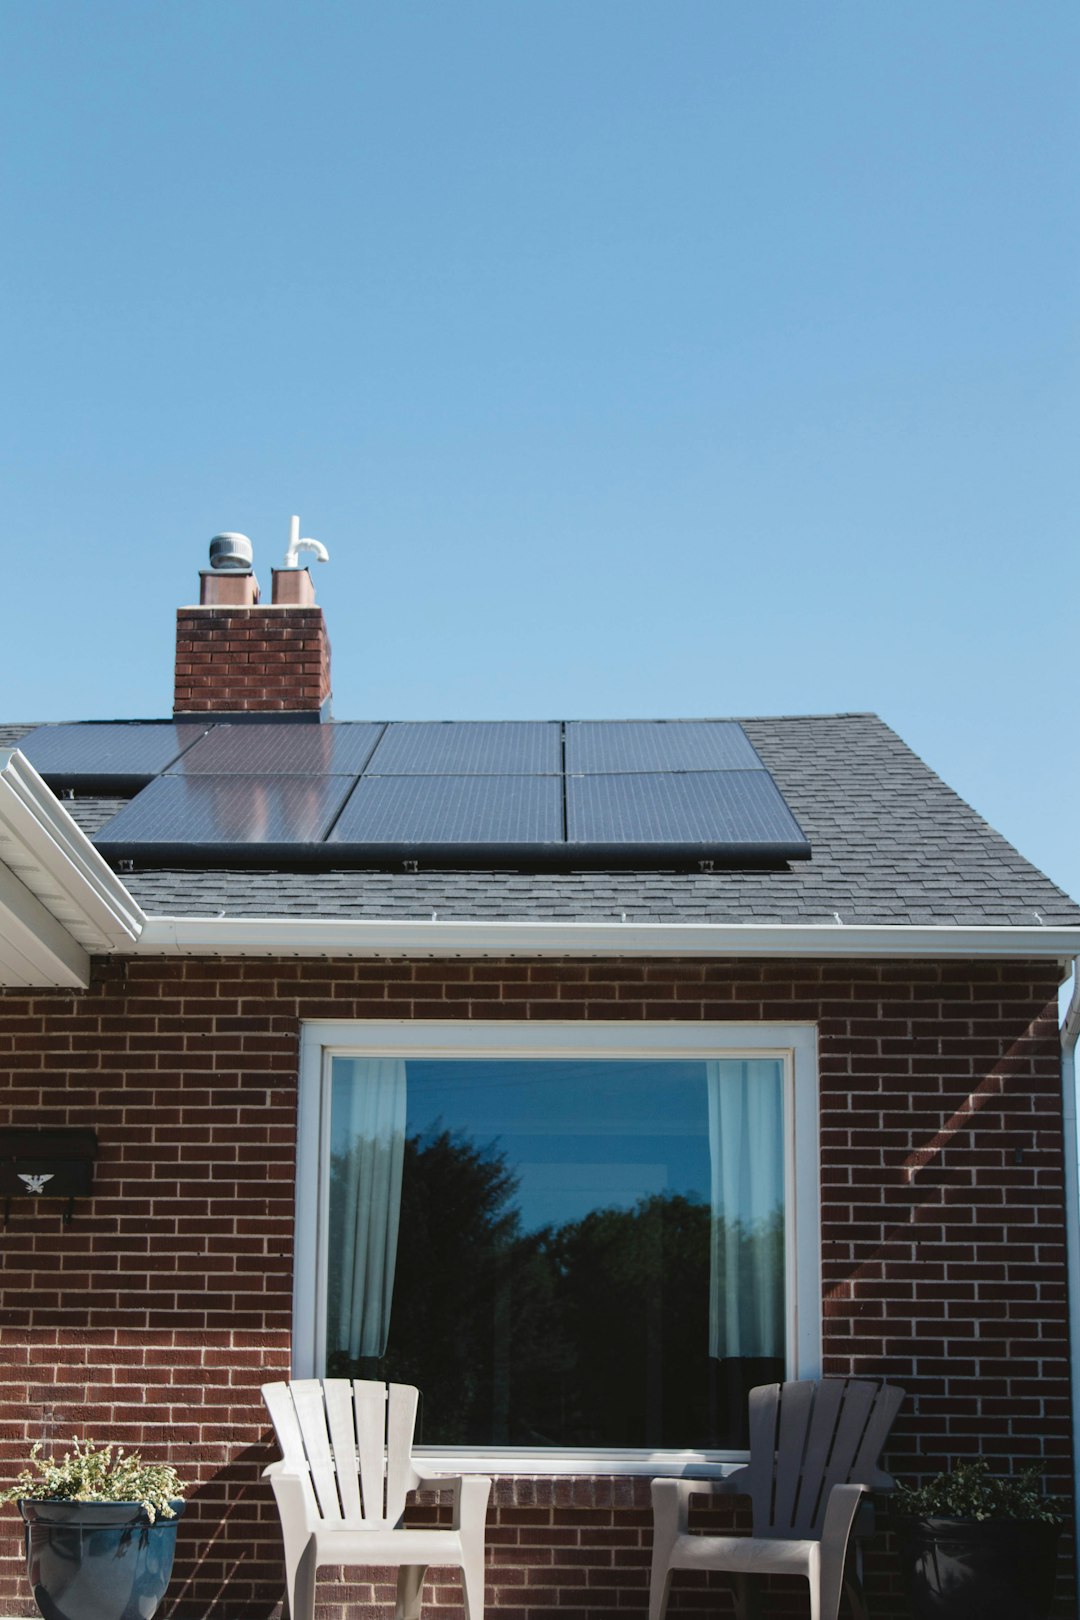
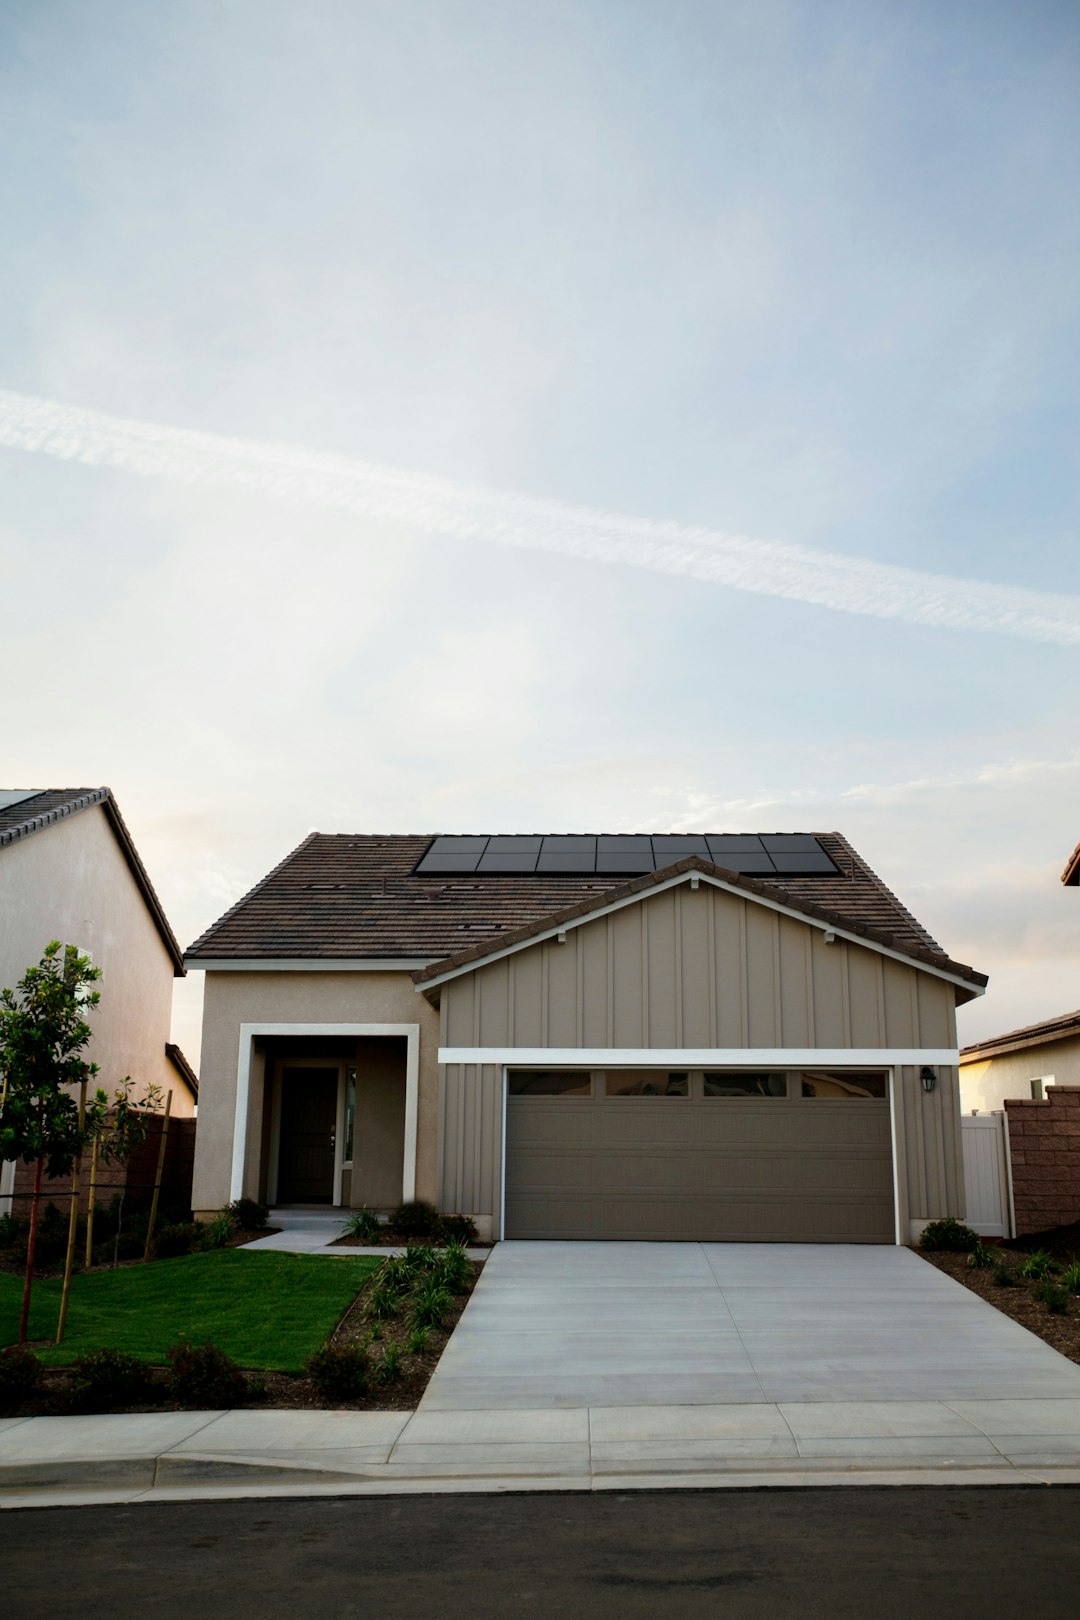
The part that surprises most homeowners is that the actual physical installation of solar panels on your roof usually takes just one to three days. A crew of three to four installers can mount the racking, set the panels, wire the system, and install the inverter in a single day for a standard residential array. Larger systems or complex roof layouts may stretch to two or three days, but the on-roof work is the shortest phase of the entire process.
The full timeline from your first consultation to the day your system is actively producing electricity typically runs two to four months. Most of that time is spent on design, permitting, utility coordination, and scheduling rather than physical installation. Understanding each phase helps you plan around the process and set realistic expectations for when your panels will actually start saving you money.
Phase One: Consultation and Site Assessment
The process starts with an initial consultation where a solar company evaluates your home’s suitability for panels. The U.S. Department of Energy’s step-by-step guide for going solar notes that a qualified installer will assess your roof’s condition, orientation, shading, and structural capacity to determine whether panels will perform well on your home.
During this phase, the installer reviews your electricity bills to understand your energy usage, uses satellite imagery or an on-site visit to evaluate your roof, and designs a system sized to offset your consumption. You’ll receive a proposal that includes the system size, estimated production, equipment specifications, total cost, available incentives, and projected savings.
This phase typically takes one to two weeks, though it can move faster if you’re decisive about your options and responsive with the information the installer needs.
Phase Two: Contract and Financing
Once you choose an installer and accept a proposal, you’ll sign a contract and finalize your financing arrangement. Whether you’re paying cash, taking a solar loan, or entering a lease or power purchase agreement, the paperwork for this step usually takes a few days to a week.
If you’re financing through a solar loan, the lender will run a credit check and process the application, which can add a few additional days. Cash purchases move the fastest since there’s no lender approval involved. According to ENERGY STAR, understanding the financial aspects of going solar before committing helps homeowners make a more informed decision and avoid delays later in the process.
Phase Three: Engineering and Design
After the contract is signed, the installer creates detailed engineering plans for your specific system. This includes precise panel placement on the roof, the electrical layout, the inverter location, and the connection point to your home’s electrical panel. In some cases, a structural engineer may need to verify that your roof can support the weight of the array, especially on older homes or flat roofs.
The engineering phase typically takes one to three weeks depending on the complexity of the system and the installer’s current workload. This step has to be completed before permits can be submitted because the building department needs the engineering drawings as part of the permit application.
Phase Four: Permitting
Permitting is the phase that accounts for the most variability in the overall timeline. Your installer submits the system design, engineering documents, and permit application to your local building department for review and approval. Some municipalities process solar permits in a few days. Others take three to six weeks or longer depending on staffing, backlog, and how familiar the department is with solar installations.
The Department of Energy’s homeowner’s guide to solar encourages homeowners to research the regulations in their area before committing to a timeline. Your installer should handle the entire permit application process on your behalf, but the approval timeline is controlled by the local government and is the one phase neither you nor the installer can speed up.
In areas with streamlined solar permitting, this step can take as little as one week. In jurisdictions with slower processes or additional requirements like homeowners association approval, it can take a month or more.
Phase Five: Installation Day
Once permits are approved and the equipment has been ordered and delivered, the installation is scheduled. For a standard residential system of twenty to thirty panels, the on-roof work typically takes one to two days. The process follows a consistent sequence:
- The crew installs the racking system, anchoring it through the roofing material into the structural rafters or using a ballasted system on flat roofs
- Solar panels are mounted onto the racking and wired together in series or parallel depending on the system design
- The inverter is installed, either as a central string inverter mounted on an exterior wall or as microinverters attached to each individual panel
- Electrical wiring is run from the array to the inverter and from the inverter to your home’s main electrical panel
- A new bidirectional utility meter or meter adapter is coordinated with your utility company
The installation itself is the least disruptive phase for most homeowners. You don’t need to be home during the work, and the crew operates entirely on the roof and at the electrical panel. There’s no interior work required unless your electrical panel needs an upgrade to accommodate the solar connection.
Phase Six: Inspection and Utility Approval
After installation, your local building department sends an inspector to verify that the system was installed according to the approved plans and meets all electrical and building code requirements. This inspection is typically scheduled within a week of installation and takes less than an hour on site.
Once the system passes inspection, the final step is utility interconnection approval. Your utility company reviews the installation, confirms the meter setup, and grants permission to operate. This is the step that officially allows your system to connect to the grid and start exporting excess energy for net metering credits. Utility approval can take anywhere from a few days to several weeks depending on the utility’s processing speed.
Your system is not legally allowed to operate until both the municipal inspection and the utility interconnection are complete. Some installers will energize the system after the municipal inspection so you can begin using solar power for your own consumption, but net metering credits won’t begin until the utility gives final authorization.
What Can Speed Things Up or Slow Things Down
Several factors influence where your project falls within the two-to-four-month range:
- Fast permitting jurisdictions and responsive utilities can cut the total timeline to as little as six to eight weeks
- Slow permit offices, HOA approval requirements, or utility backlogs can stretch the process to three or four months
- Electrical panel upgrades, if your existing panel doesn’t have capacity for the solar connection, add time and cost
- Roof replacement before solar installation adds the roofing project timeline on top of the solar timeline
- Peak season scheduling in spring and summer means installers are busier and wait times between phases may be longer
The best way to keep the timeline on track is to be responsive with paperwork, make decisions about system design and financing quickly, and choose an installer with a strong track record of managing the permitting and utility process efficiently in your area.
Ready to Find Out How Quickly You Could Go Solar?
Get a free, no-obligation quote with a clear timeline tailored to your home and your local permitting process.
Get Your Free Quote